Most kitchen organization advice on the internet looks the same: a pristine pantry with matching glass jars, a drawer that’s been labelled with a calligraphy pen, and a cabinet that looks like it belongs in a design studio — not a real home where someone actually cooks dinner.
I’ve been there. I’ve bought the matching bins, the turntable organizers, the fancy drawer dividers. And I’ve also moved four times in the last six years and watched those same purchases not fit a single new cabinet I encountered. So when I say I’ve figured out how to organize kitchen cabinets on a budget — and I mean a real budget, not the “budget” where you spend $300 at The Container Store — I mean it from actual experience.
The truth is, a genuinely organized kitchen doesn’t come from buying more things. It comes from a system. And once you have a system, even $15 worth of dollar store bins can transform the most chaotic cabinet into something that makes your mornings feel less like a scavenger hunt.
In this guide, I’m going to walk you through exactly how to do that — step by step, with specific product ideas, realistic price ranges, and honest advice about what’s worth buying and what’s just pretty clutter in a different form.
Why Most Kitchen Cabinet Organization Fails (And How to Avoid It)
Before you buy a single bin or shelf riser, it’s worth understanding why most kitchen organization attempts fall apart within a few weeks.
The biggest mistake I see — and one I made myself — is organizing around the stuff you already own instead of first deciding what deserves to stay. You can’t organize clutter. You can only rearrange it, and eventually, it creeps back out and takes over again.
The second most common mistake is choosing organizers based on how they look in a photo rather than whether they’ll actually fit your cabinets and your cooking habits. A lazy Susan sounds like a great idea until you realize your cabinet is only 9 inches deep and the turntable won’t spin without hitting the shelf above it.
The Principle That Actually Works: Zones
Professional organizers call it “zoning” — and it sounds more complicated than it is. The idea is simple: every item in your kitchen belongs to a category, and every category gets its own dedicated home.
Think of it like a grocery store. You don’t wander through every aisle looking for pasta sauce because it’s always in the same section. Your kitchen should work the same way. Baking supplies in one cabinet. Cooking oils and spices near the stove. Mugs near the coffee maker. Food storage containers near the fridge.
When everything has a zone, you stop putting things away “wherever there’s space” — and that’s where the real transformation happens.
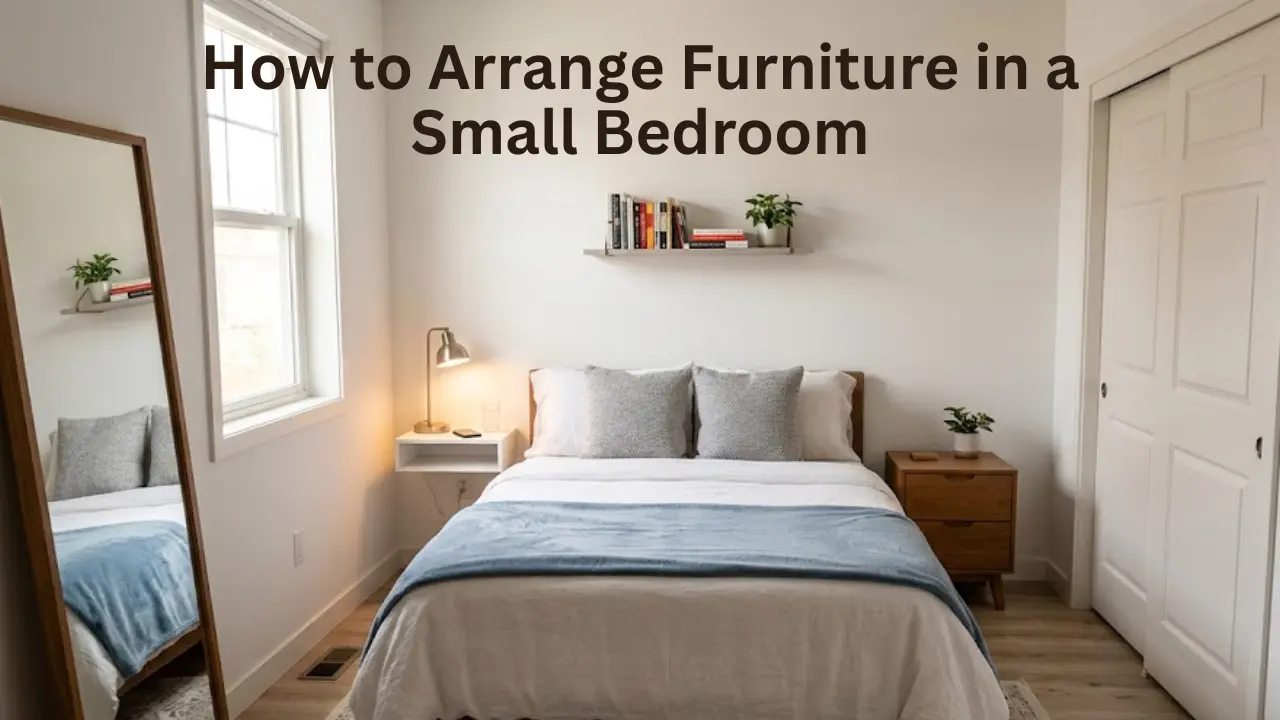
If you’re still figuring out what to keep and what to let go before organizing, these small bedroom storage ideas use the same zone-based approach and might give you a broader framework for thinking through storage in your home.
Step One: Declutter Before You Organize (This Is Non-Negotiable)
I know, I know — you want to skip to the fun part with the bins and the labels. But I’m telling you, from multiple kitchen reorganizations across multiple apartments: if you skip the declutter step, you will spend money on organizers that don’t help, and within three months your cabinets will look exactly the same.
Set aside two hours. Take everything out of your cabinets and put it on the counter or the kitchen table. Everything. It’s going to feel like a lot, and that’s the point — you need to see exactly what you’re working with.
The Three-Pile Method
As you pull things out, sort them into three piles:
Keep. These are things you’ve used in the last three months, or things you genuinely need seasonally (like your Thanksgiving roasting pan). If it’s in this pile, it earns cabinet space.
Donate or toss. Duplicates, expired food, the appliance you used once and never touched again, the seventeen plastic takeout containers with no matching lids. Be ruthless here. Every item you remove is one less item you need to find space for.
Relocate. Some things don’t actually belong in the kitchen. An “emergency” junk drawer that’s crept into a cabinet, batteries, old mail, random tools — these belong elsewhere. Move them out.
What to Ask About Every Item
For anything you’re unsure about, ask yourself this: if I were moving into a new apartment tomorrow, would I pack this? If the answer is no, let it go.
In my experience, most households have at least 30 to 40 percent more kitchen stuff than they need. Clearing that out does more for your kitchen organization than any product you could buy.
Step Two: Measure Your Cabinets Before You Buy Anything
This is the step that saves you from the most frustrating experience in kitchen organization: getting home with a shelf riser that’s two inches too tall, or a bin that sticks out past the cabinet door.
Before you spend a dollar, grab a measuring tape and write down:
- The width of each cabinet interior (left wall to right wall)
- The depth from front to back
- The height between shelves (or from shelf to the bottom of the shelf above)
Keep these numbers on your phone. When you’re shopping — whether at a dollar store, IKEA, or Amazon — you’ll be able to check immediately whether something will actually fit.
The Overlooked Measurement: Door Clearance
A lot of people measure the inside of their cabinets but forget about the door swing. If you’re adding organizers to the back of a cabinet door, make sure the items you’re hanging won’t hit the shelves inside when you close the door. Leave at least half an inch of clearance.
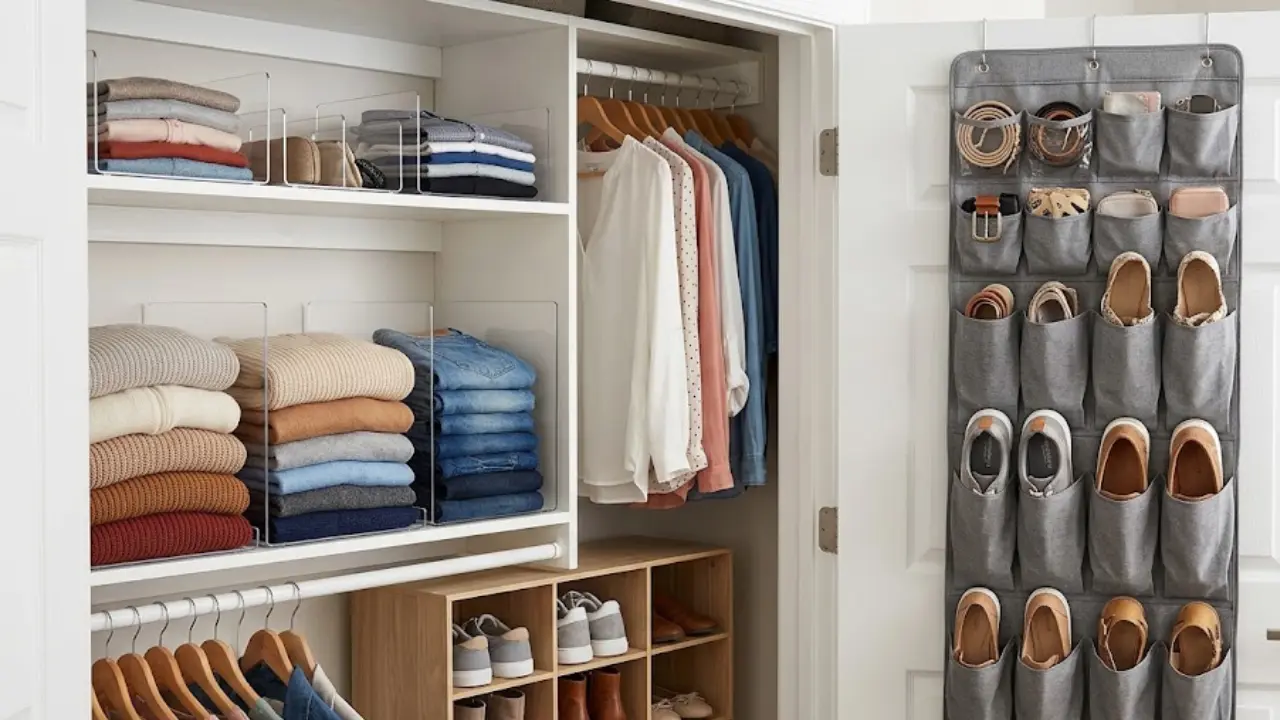
This is especially important for over-the-door organizers in upper cabinets, which are one of the best budget storage wins — but only if they fit your specific door and cabinet depth.
Step Three: The Best Budget Organizers That Actually Work
Now we get to the fun part. I’ve tried a lot of kitchen organizers over the years, and I’ve landed on a pretty clear list of what’s worth buying versus what sounds good in theory but disappoints in practice.
Shelf Risers: The Most Underrated Kitchen Product
A shelf riser doubles your cabinet space instantly. You put one on the shelf, and suddenly you have two usable levels instead of one. Stack your dinner plates on the bottom, bowls on the riser above. Or put your canned goods in a single layer instead of an unstable two-deep pile.
What to look for: Adjustable or stackable risers are more versatile than fixed-height ones. Look for ones with non-slip feet so they don’t slide around when you grab something.
What to spend: You can find a solid set of two for $10 to $15. Wire risers tend to be the sturdiest at the lowest price. Bamboo ones look nicer but cost more and can warp over time with humidity.
Where to buy: Dollar Tree sells a simple version that works fine for lighter items. Amazon has more options if you need specific dimensions. IKEA’s VARIERA line is consistently good for the price.
Clear Bins and Baskets: Buy These in Sets
Clear bins are the single most useful kitchen organizer you can buy, full stop. They let you group categories together, pull everything out at once when you need something in the back, and see exactly what you have without moving anything.
The key is buying them in a set so the sizes are consistent. Mismatched bins make your cabinet look more chaotic, not less. A set of three or four matching clear bins — one for snacks, one for baking supplies, one for canned goods — costs $12 to $20 at most, and it genuinely changes how the cabinet functions.
The one mistake people make with bins: Buying bins that are too big. Bigger is not better here. A large bin piled with random stuff is just a drawer with clear walls. Go for medium sizes that force you to keep categories specific.
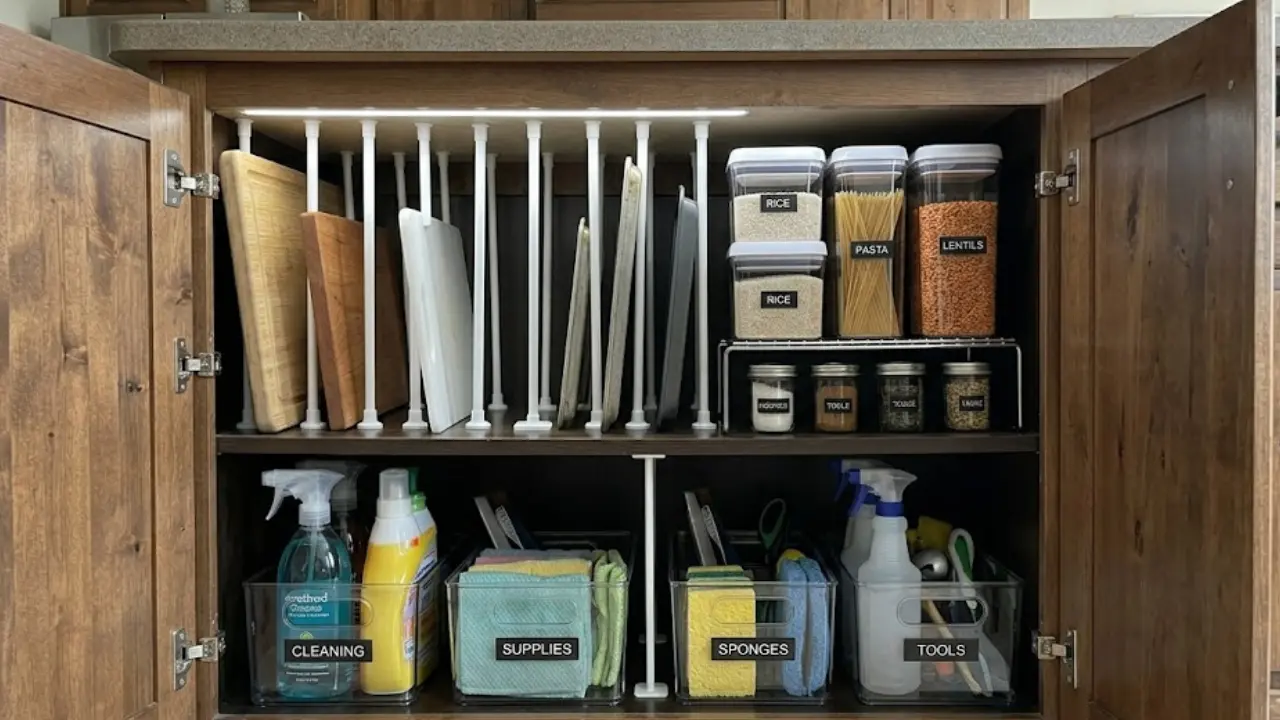
Tension Rods: The $3 Solution Most People Don’t Know About
A tension rod placed vertically inside a deep lower cabinet creates individual slots for cutting boards, baking sheets, and sheet pans. Instead of a stack of sheet pans that you have to unbury to get the one at the bottom, each one stands upright in its own slot and slides out cleanly.
I’d argue this is the single best dollar-per-impact kitchen organizer. A pack of two tension rods costs $3 to $6, and it completely solves one of the most frustrating cabinet problems.
You can also use tension rods horizontally under the sink to create a bar for hanging spray bottles — freeing up floor space in that cabinet for other cleaning supplies.
Over-the-Door Organizers for Upper Cabinets
The back of a cabinet door is prime real estate that most people completely ignore. A simple over-the-door rack can hold spices, foil, plastic wrap, sandwich bags, or small cleaning supplies.
Important: Measure that door clearance first (see Step Two). Over-the-door organizers in upper cabinets can sometimes hit the shelf inside when you close the door, which is incredibly annoying and defeats the purpose.
Good affordable option: A simple wire over-the-door organizer from Amazon or IKEA typically runs $8 to $14.
Lazy Susans: Worth It, But Only in the Right Spot
A lazy Susan works brilliantly in a corner cabinet or a large lower cabinet where things get lost in the back. Spin it to access what you need. No more reaching into the back of a dark cabinet and knocking everything over.
Where a lazy Susan doesn’t work: shallow upper cabinets, and anywhere the spinning radius is cramped by the cabinet walls. I’ve bought lazy Susans that barely spin and ended up doing nothing useful.
Price range: $8 to $20 depending on size and material. The cheaper plastic ones work perfectly fine — you don’t need the bamboo version.
Step Four: The Zone-by-Zone Reorganization Plan
With your decluttered items and your organizers in hand, here’s how I’d approach each section of the kitchen:
Upper Cabinets
Upper cabinets are for lighter items you use regularly but don’t need every single minute: plates, glasses, mugs, bowls, spices, baking supplies.
The most important principle for upper cabinets: height zones. Store your most-used items at eye level. Store infrequently used items (the serving platter for guests, the holiday mug you love too much to get rid of) on the very top shelf.
Use a shelf riser in the plate and bowl cabinet to create a second level. Put everyday dishes on the lower level, less-used ones on the riser above.
For spices: keep them in a consistent spot (near the stove if possible) and use a small tiered riser or a narrow lazy Susan so you can see every label without moving anything.
Lower Cabinets
Lower cabinets handle the heavy lifting: pots and pans, small appliances, food storage containers, cleaning supplies under the sink.
Pots and pans are the classic lower cabinet chaos problem. The best solution depends on your cabinet depth:
- If you have a deep lower cabinet, use a tension rod system to store lids vertically, and stack pots by size with lids stored separately.
- If you have a pull-out cabinet or drawer, organize by frequency of use — most-used pans in front, specialty pans in back.
- If you have a corner cabinet, a lazy Susan is genuinely worth the investment here.
For small appliances (toaster, blender, hand mixer), keep only what you use weekly on the counter. Everything else goes in a lower cabinet, stored with its own cords wrapped around it so you’re not untangling a mess every time you need the immersion blender.
Food storage containers deserve their own dedicated cabinet, and they’re one of the most satisfying organizational victories once you tackle them. Separate lids from containers. Stack containers inside each other by type and size. Store lids vertically using a tension rod or a lid organizer. Match lids to containers once a month and ruthlessly remove any orphaned pieces.
If you’ve been dealing with a cluttered counter situation alongside the cabinet chaos, you might find these tips on how to decorate kitchen counters without clutter useful to read alongside this — because the two problems are often connected.
The Under-Sink Cabinet
The under-sink cabinet is where organization goes to die. There are pipes, awkward shapes, and usually a random collection of cleaning supplies, trash bags, sponges, and things that got shoved there because there was nowhere else.
The goal isn’t to make it look like a spa cabinet. The goal is to make it functional.
Start with a tension rod across the front for hanging spray bottles. Use a small bin for sponges and scrubbers. Use a second bin for extra cleaning supplies. Keep a designated trash bag holder (even just a hook) so you always know where they are.
Step Five: How to Maintain It Without Losing Your Mind
The best-organized kitchen in the world falls apart without a maintenance habit. But this doesn’t need to be complicated.
The One-In-One-Out Rule
Every time something new comes into the kitchen — a new gadget, a duplicate utensil, a duplicate mug — something old has to leave. This single rule prevents slow cabinet creep better than any organizer.
The Weekly Five-Minute Reset
Once a week — I do mine on Sunday evenings — spend five minutes putting everything back in its zone. Things migrate. The olive oil ends up on the wrong shelf. The good scissors disappear into a drawer. A quick reset costs almost no time and keeps the system intact.
Quarterly Declutter
Every three months or so, open each cabinet and honestly assess what’s in there. Expired food, things you haven’t touched, duplicates that snuck back in — remove them. This keeps the declutter from becoming an overwhelming annual project.
What’s Actually Worth Spending Money On (And What Isn’t)
Since we’re talking about doing this on a budget, let me be direct about where to spend and where to save.
Worth Spending More On
Clear bins in consistent sizes. Cheap bins that break, warp, or don’t stack cleanly are more annoying than useful. A medium-quality set from IKEA or Amazon that lasts five years is worth a few extra dollars over dollar store bins that crack after six months.
Shelf risers with non-slip feet. The cheapest shelf risers slide every time you grab something, which is maddening. Spend $12 to $15 on a set with rubber feet and you’ll never think about them again.
A good drawer organizer for your utensil drawer. This is the one area where I’d spend a little more. A drawer organizer that actually fits your drawer and holds what you need stays in place for years. A flimsy one shifts around every time you open the drawer.
Where to Save
Decorative jars and matching containers. I love the look of matching glass jars for pasta and grains as much as anyone. But they’re expensive, they’re heavy, and for a truly budget kitchen organization project, they are absolutely not necessary. A bag clip and the original packaging works just as well.
Specialty organizers for specific items. There are organizers sold specifically for every single kitchen item — a specific pot lid organizer, a specific foil and wrap organizer, a specific egg storage device. Most of these can be replaced by a tension rod, a bin, or a drawer divider at a fraction of the cost.
Anything that requires drilling. If you’re renting (and even if you own), avoid organizers that require permanent installation. The same function can almost always be achieved with a tension rod, an over-door hook, or a freestanding solution.
If you’re renting and working with an apartment kitchen that came with limitations baked in, you might want to read how making a rental apartment feel like home covers a lot of the same philosophy — doing a lot with what you have, without permanent changes.
Pro Tips That Most Budget Organization Guides Skip
Group by Task, Not Just by Category
Instead of organizing purely by item type, think about what you use together. Keep your coffee, mugs, filters, and sweetener in the same cabinet right next to the coffee maker. Keep your baking powder, baking soda, vanilla, and measuring cups together. When everything for a specific task lives in the same spot, cooking feels easier — and putting things away feels easier too.
Use the Top of Cabinets for Long-Term Storage
If your cabinets don’t go all the way to the ceiling (and most don’t), that space above the cabinets is legitimate storage. Seasonal items, a rarely-used appliance, or the pretty serving dishes you use twice a year can all live up there. Put them in a labeled basket or bin so they don’t collect dust and so you actually know what’s there.
Label Even if It Feels Unnecessary
I resisted labelling for a long time because it felt fussy. But labels serve a surprisingly important function: they make it easy for other people — your partner, your roommate, a houseguest making coffee — to put things back in the right place. You don’t need a calligraphy pen. A strip of masking tape and a marker works exactly as well.
Pare Down the Counter-to-Cabinet Ratio
The more you store on the counter, the more your cabinet space feels fine because you’ve outsourced the problem. But countertop clutter is its own issue. If your coffee maker, toaster, knife block, fruit bowl, cutting board, and paper towel holder are all on the counter, there’s often a cabinet organization question hiding underneath that. Ask yourself what truly needs to be on the counter versus what could be stored and pulled out when needed.
Common Mistakes to Avoid
Buying organizers before decluttering. You’ll almost certainly buy the wrong size, the wrong amount, or things you don’t need once you see what you actually kept. Declutter first, always.
Prioritizing looks over function. The most Instagrammable kitchen organization solutions are often the least practical. Glass jars look beautiful and are an absolute nightmare to refill, clean, and store efficiently. Function first, aesthetics second.
Ignoring the vertical dimension. The inside of cabinet doors, the space above the cabinet line, the gap between the fridge and the wall — vertical real estate in a kitchen is chronically underused. Think up, not just out.
Assuming you need more storage when you need less stuff. This one took me a few apartments to learn. If you keep running out of space, the first question should be “what can I remove” before “what organizer can I add.” More storage without less stuff just moves the problem.
Organizing everything at once and burning out. Kitchen cabinet organization doesn’t have to be a weekend project. Do one cabinet this week, another cabinet next week. Sustainable progress beats a perfect overhaul that exhausts you so much you never want to touch it again.
A Simple Budget Breakdown: What to Expect to Spend
Here’s a realistic picture of what a complete kitchen cabinet organization project costs, using genuinely affordable products:
| Item | Estimated Cost |
|---|---|
| Shelf risers (set of 2–3) | $10–$15 |
| Clear bins, medium set of 4 | $12–$20 |
| Tension rods (pack of 2) | $3–$6 |
| Over-the-door organizer | $8–$14 |
| Lazy Susan (for a corner or deep cabinet) | $8–$15 |
| Drawer divider or utensil organizer | $8–$15 |
| Labels (masking tape works fine) | $0–$3 |
| Total | $49–$88 |
That’s it. Under $90 for a fully reorganized kitchen — and if you shop at dollar stores or discount bins, you can often cut that number in half.
The key is buying only what you actually need for your specific cabinets, measured before you shop. Don’t buy the full set of every organizer type and then figure out where to use them.
Your Organized Kitchen Doesn’t Have to Be Perfect
Here’s my honest take on kitchen organization, after years of figuring this out in apartments and homes with very different layouts and very different budgets: it doesn’t need to be perfect to work.
A cabinet where you can find what you need in three seconds — even if the bins don’t match and the label is a piece of masking tape — is genuinely organized. A cabinet that looks beautiful in photos but where you’re afraid to touch anything because it’ll fall apart is not.
The goal is a kitchen that makes cooking feel easier and putting things away feel natural. If you get there, you’ve succeeded — whether you spent $20 or $200.
Start with the one cabinet that bothers you most. Declutter it, measure it, grab one or two simple organizers, and see how it feels. I think you’ll find that the momentum carries you through the rest of the kitchen faster than you’d expect.
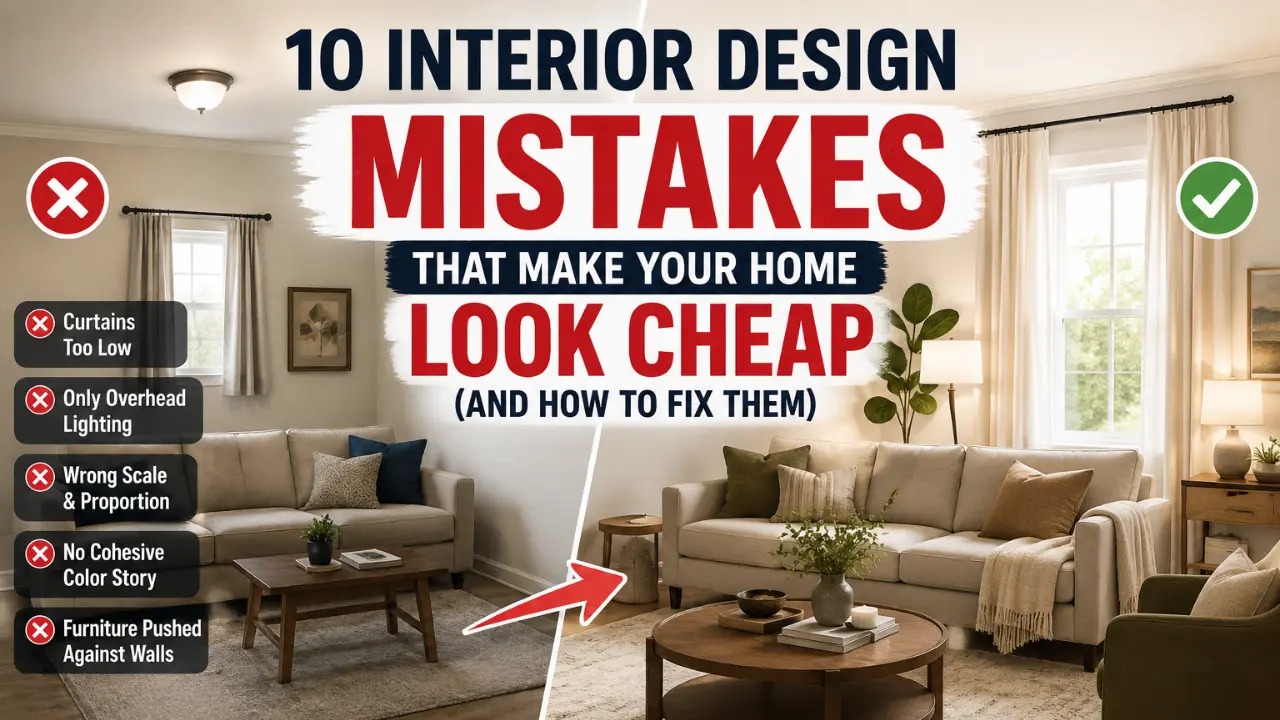
And when you’re ready to think about how the rest of your kitchen and home come together visually, the small apartment living room ideas on this blog use a lot of the same principles — making constrained spaces feel intentional, functional, and genuinely yours.
FAQ: How to Organize Kitchen Cabinets
How do I organize my kitchen cabinets without spending a lot of money?
Start by decluttering everything out of your cabinets first — this alone creates more space than any organizer. Then measure your cabinets before buying anything. The most useful budget products are shelf risers ($10–$15), clear bins ($12–$20), and tension rods ($3–$6). You can fully organize an average kitchen for under $90 total.
What should I put where in kitchen cabinets?
Upper cabinets work best for lighter, frequently used items — plates, glasses, spices, and baking supplies. Lower cabinets handle heavy items like pots, pans, and small appliances. Store your most-used items at eye level in upper cabinets, and keep countertop appliances in the lower cabinet closest to where you use them.
How do I organize my kitchen cabinets if I’m renting?
Focus entirely on non-permanent solutions — tension rods, over-the-door organizers with hooks rather than screws, freestanding shelf risers, and clear bins. Avoid anything that requires drilling or adhesive that could damage walls or cabinet interiors. All of the organizing in this guide requires zero installation and leaves no marks.
What’s the best way to deal with food storage container chaos?
Separate lids from containers first. Stack containers inside each other by size and type. Use a tension rod or a small file organizer to store lids vertically rather than in a pile. Once a month, match lids to containers and toss any orphaned pieces — this one habit prevents the chaos from rebuilding.
How often should I reorganize my kitchen cabinets?
After the initial organization, a five-minute weekly reset is enough to keep things in place. Do a slightly deeper quarter check every three months to remove expired food and anything that’s migrated out of its zone. A full reorganization every year or two keeps it from ever becoming an overwhelming project again.